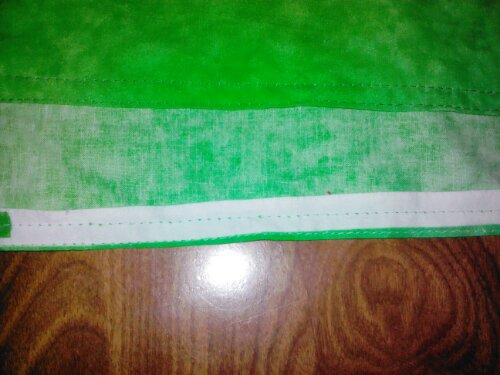
I needed to prettify some notebooks so I used some fabric and sewed them up. I did not use a pattern, but I used the notebook to fit it.
1) Tear strips of 45″ wide fabric the height of the note book plus two to three inches.
2) Fold the salvage edge to the wrong side of the fabric and stitch down.
3) Use the notebook and wrap the fabric around it how you’d like it to fit, pin. If you’re using a binder withe the rings on the center, wrap your fabric wrong side out so your pins are where they need to be to just sew them together. If your rings are on the back of the binder, wrap with your fabric right side out, pin, and then mark the pins so you can take them out and turn the fabric to wrong sides together and pin again.
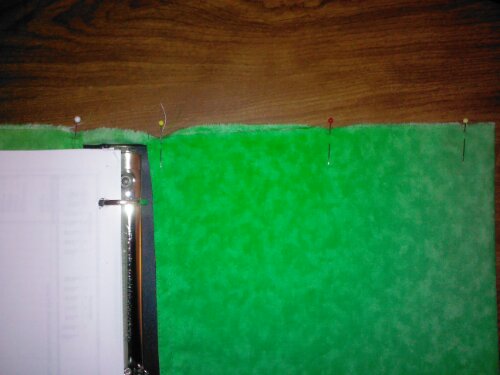
4) Clip the center panel seam allowance nearly to the stitch line.
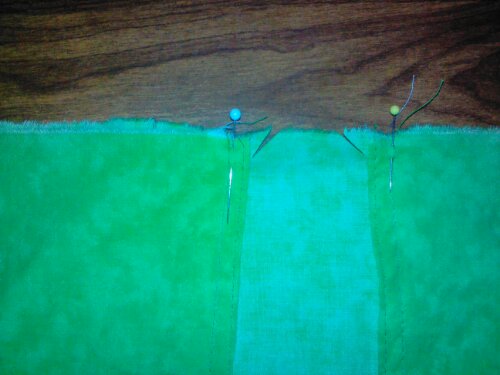
5) Sew your seam, folding the center clipped seam allowance to the wrong side.
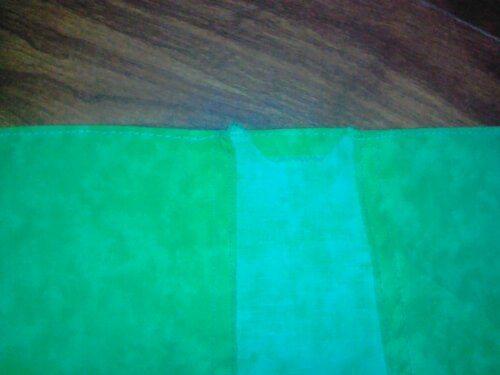
6) Clip corners, turn to right side, top stitch as close to seam as possible.
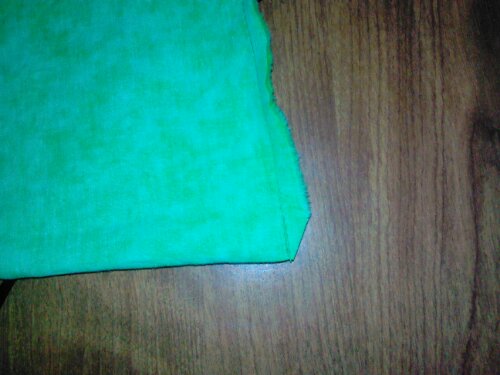
7) Turn wrong side out and cut the seam allowance as close to seam as possible.
8) Repeat steps 3 – 7 with bottom.
To add a vinyl label pocket:
1) Cut vinyl. Be sure to allow 1/4 inch on three sides for stitching.
2) Measure or use a template and measure up from the bottom to place your vinyl.
3) Use painters tape to tape three sides down on fabric. I taped it down while on the notebook because I thought it was easier and more accurate. Remove the cover from the notebook again.
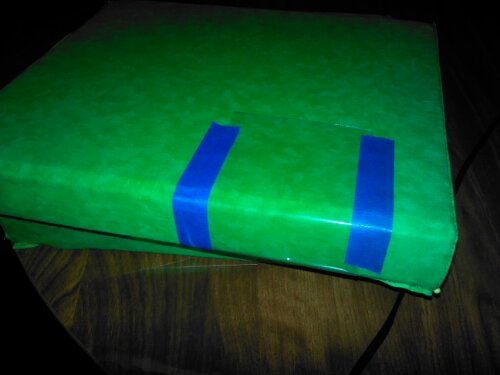
4) Tape along the edge of the vinyl the side you are stitching so the presser foot will not stick. Alternatively, tape the bottom of the presser foot! (Hindsight is great!)
5) Stitch, being careful to not sew through both layers of your cover. I used an invisible hem stitch. As you turn each corner, pause to reposition the tape to just the edge of the vinyl (or remove completely if you taped your presser foot).
6) Pull thread ends to back, tie off, and clip.
7) Put your cover on your notebook!
Check out the finished notebooks here!
UPDATE: Only use the vinyl along the spine – it sticks to itself on the bookshelf or in stacks and makes it a pain putting them back on the shelf!
